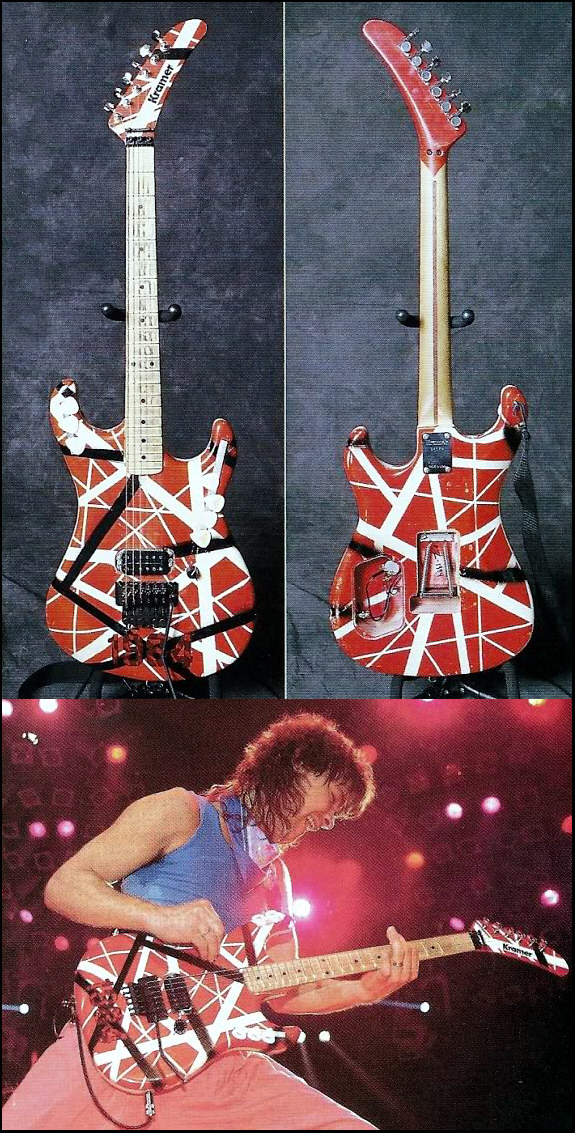
The 1984 guitar served as a backup for and was very similar to the 5150 guitar. It's interesting to note that many people have thought that this guitar had a black Floyd Rose on it because of the 1984 REPLICA that is depicted on vintagekramer.com (shown below). But it is evident in the pictures of Ed and Valerie at the top of this page that the 1984 had a chrome Floyd Rose just like the 5150 guitar.
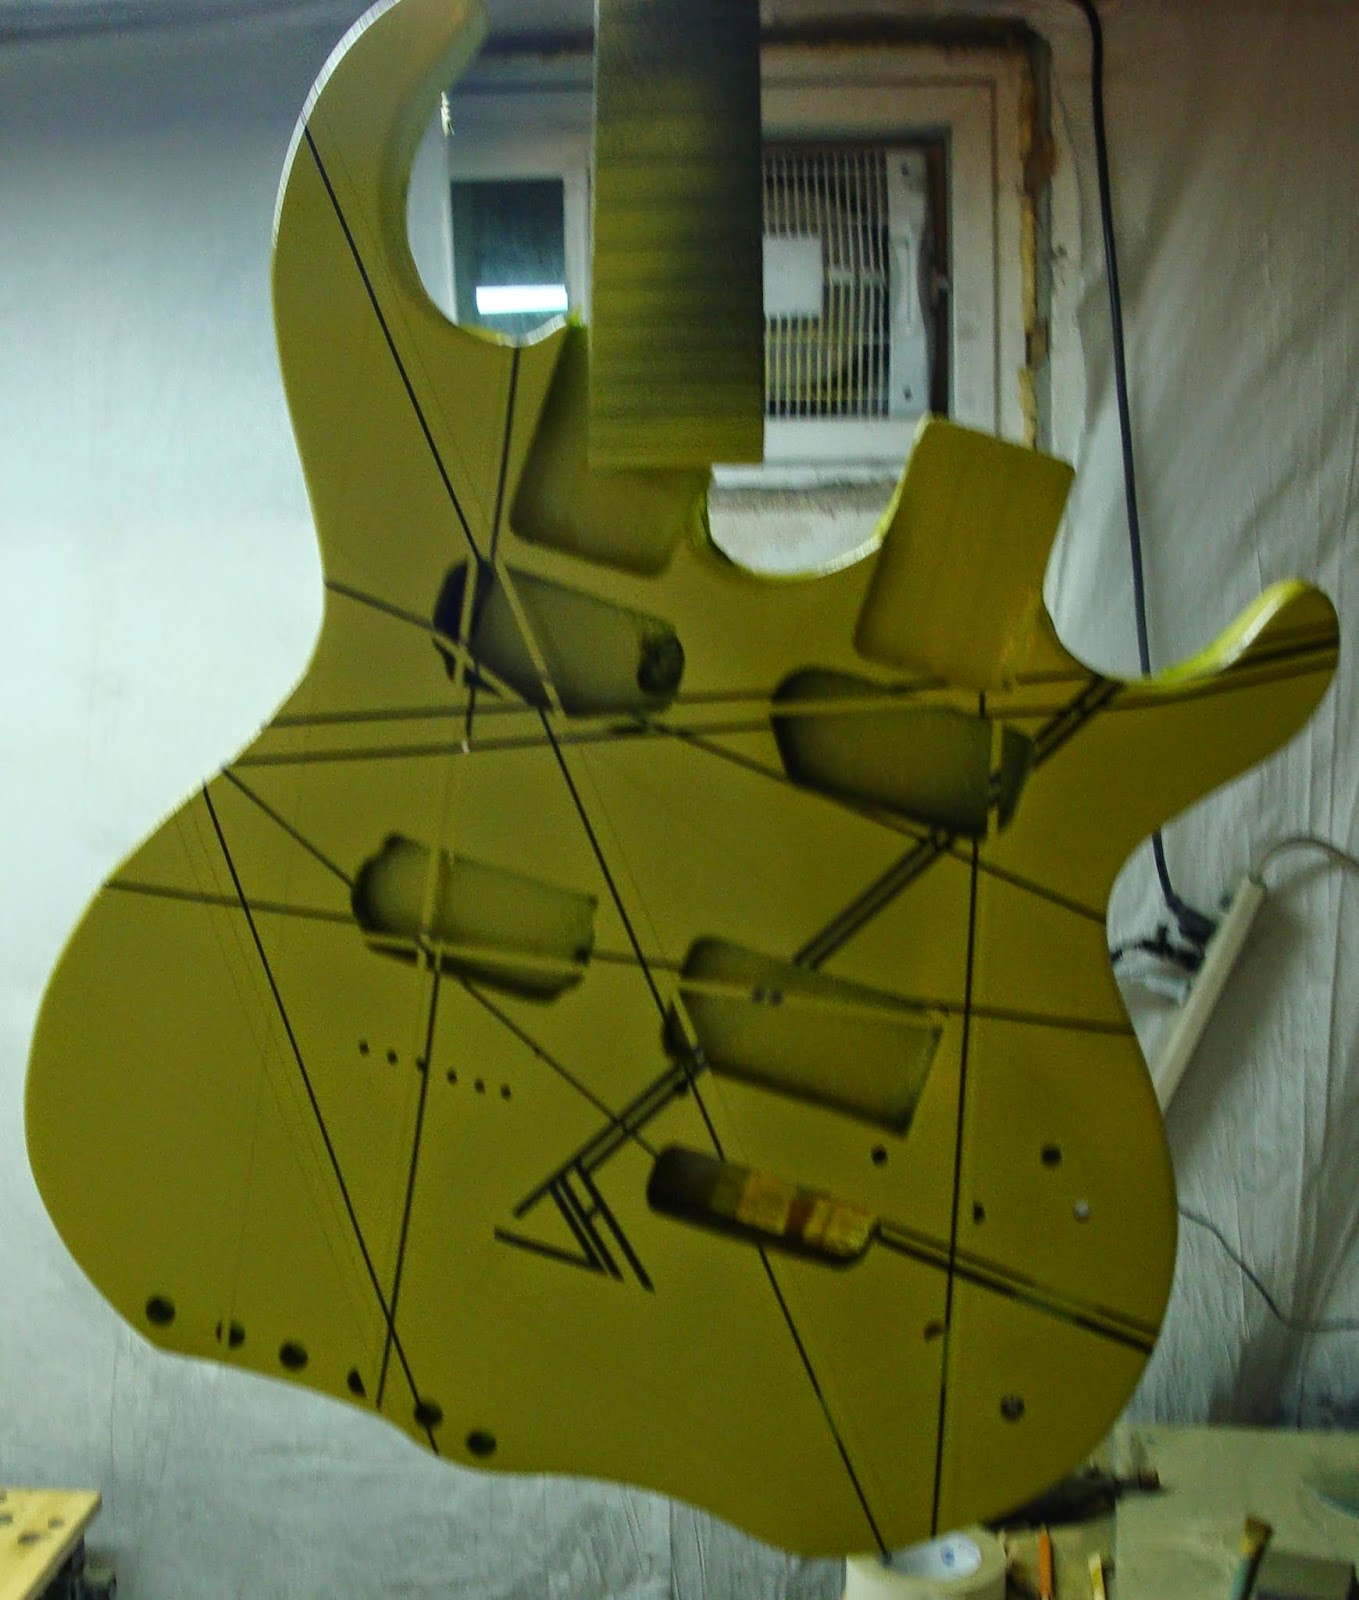
For my replica, I started with an old strat style body I found at a flea market a couple years ago. I sanded off the old paint, and filled in the unnecessary cavities with blocks of wood, plastic wood, and elmer's wood filler


After a white base coat, I masked the stripes


And then the red coat, and peeling the mask


For the black stripes, I put down mask to allocate the areas that would be covered with black


Next, I outlined those areas and pulled the original mask off


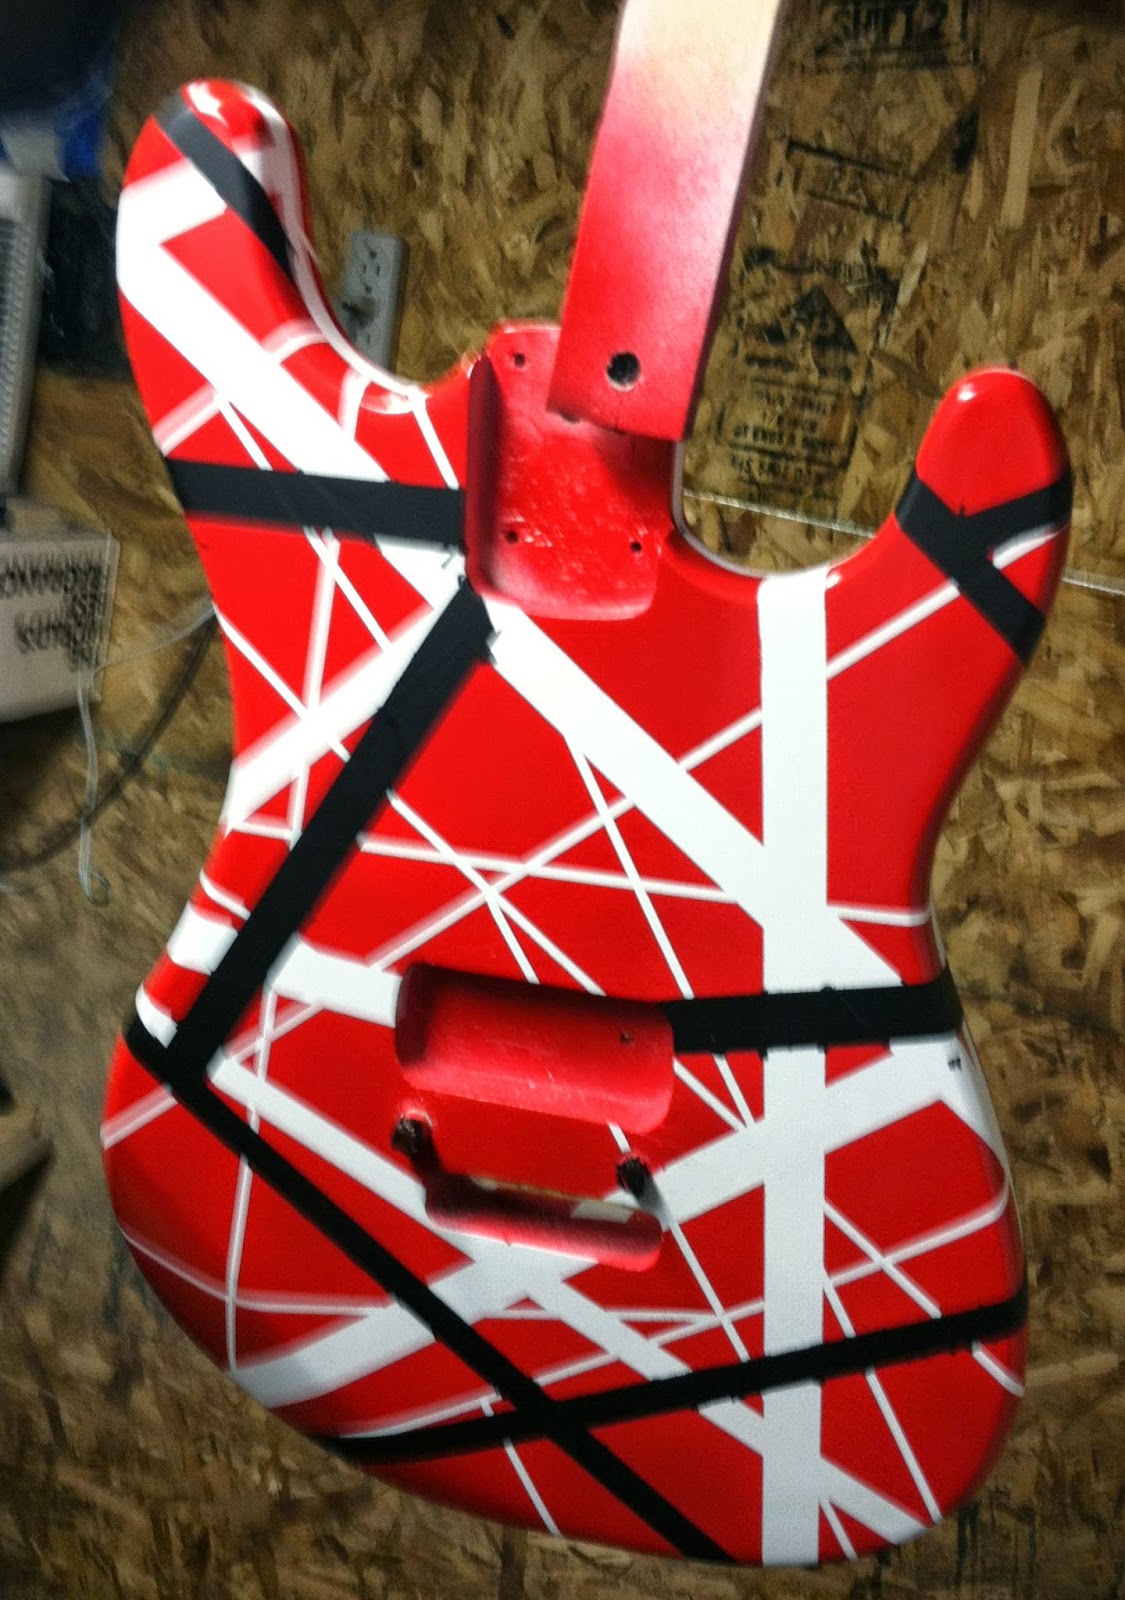
And covered all areas outside of the outline


On the original, the black stripes were pretty sloppy, so I tried to be as sloppy as possible about it. Unfortunately, I didn't get the same result, but it is what it is

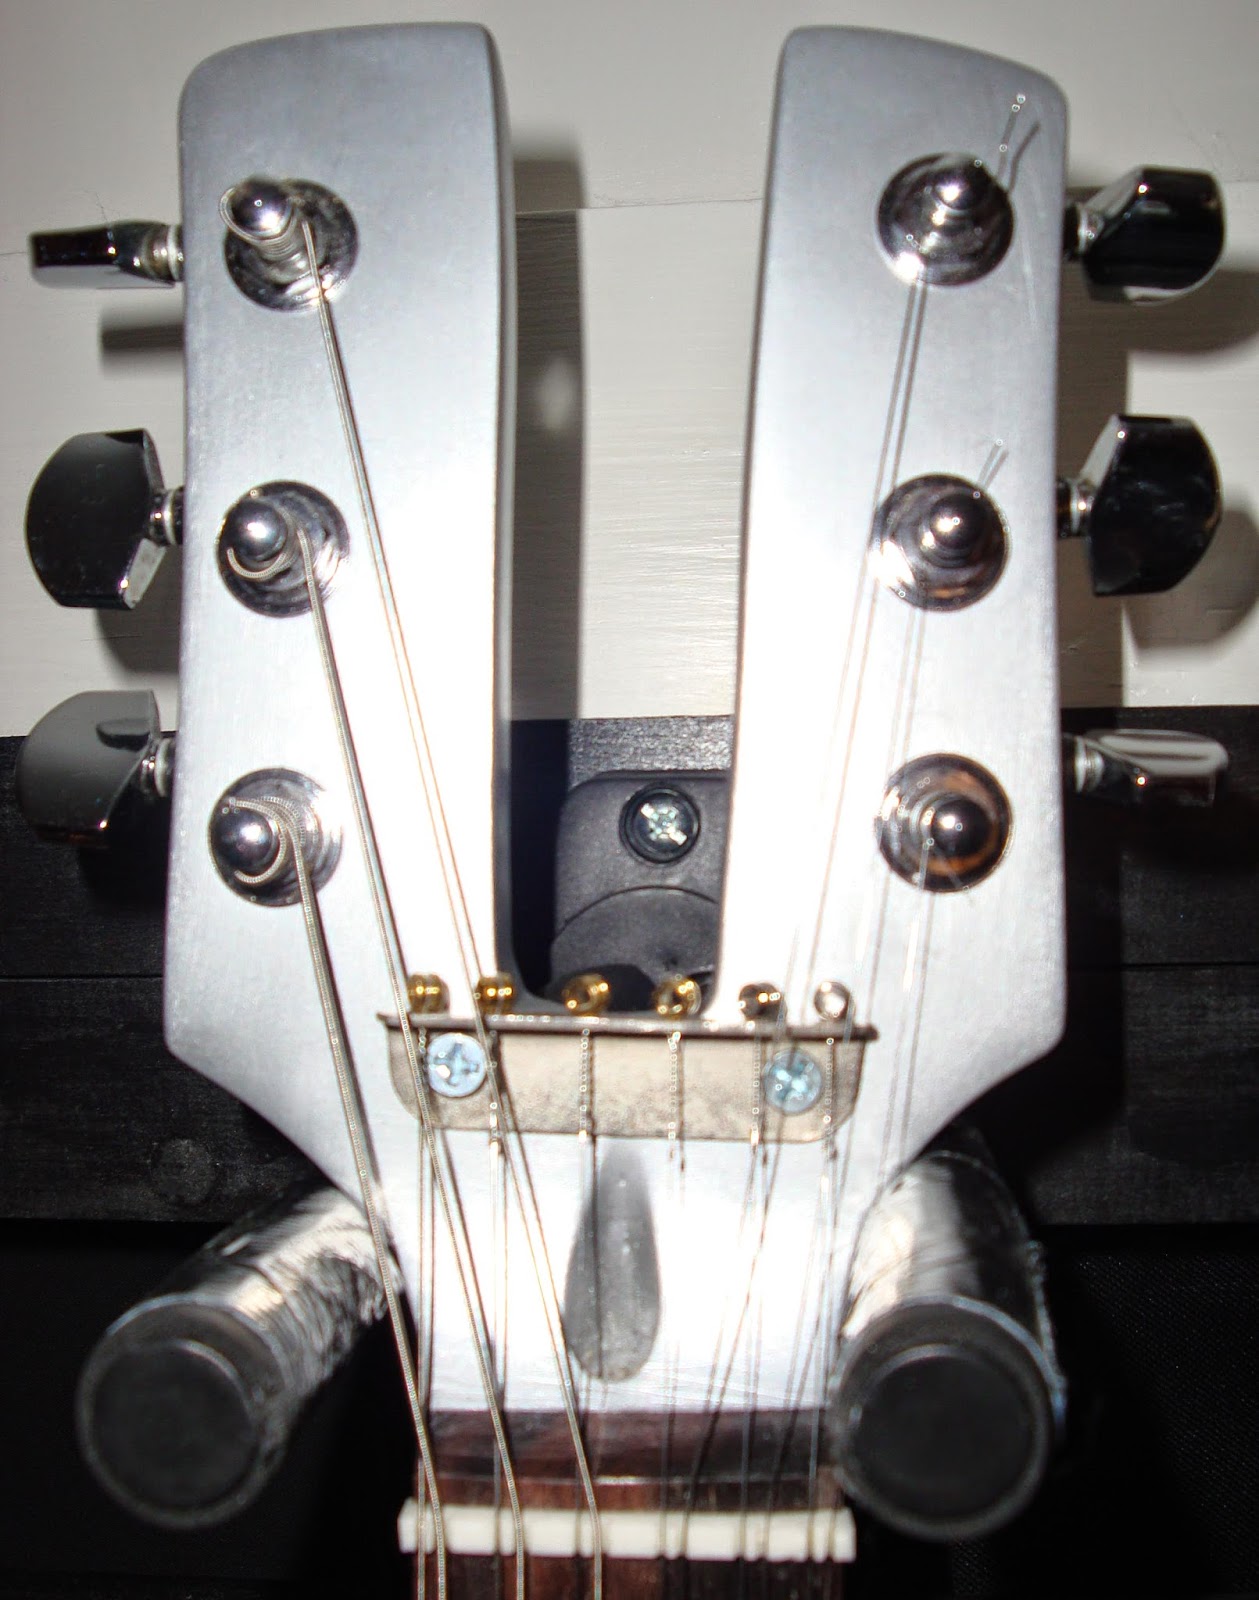
And here are some pictures of the headstock, using the same process


I added the Kramer logo before clear coating

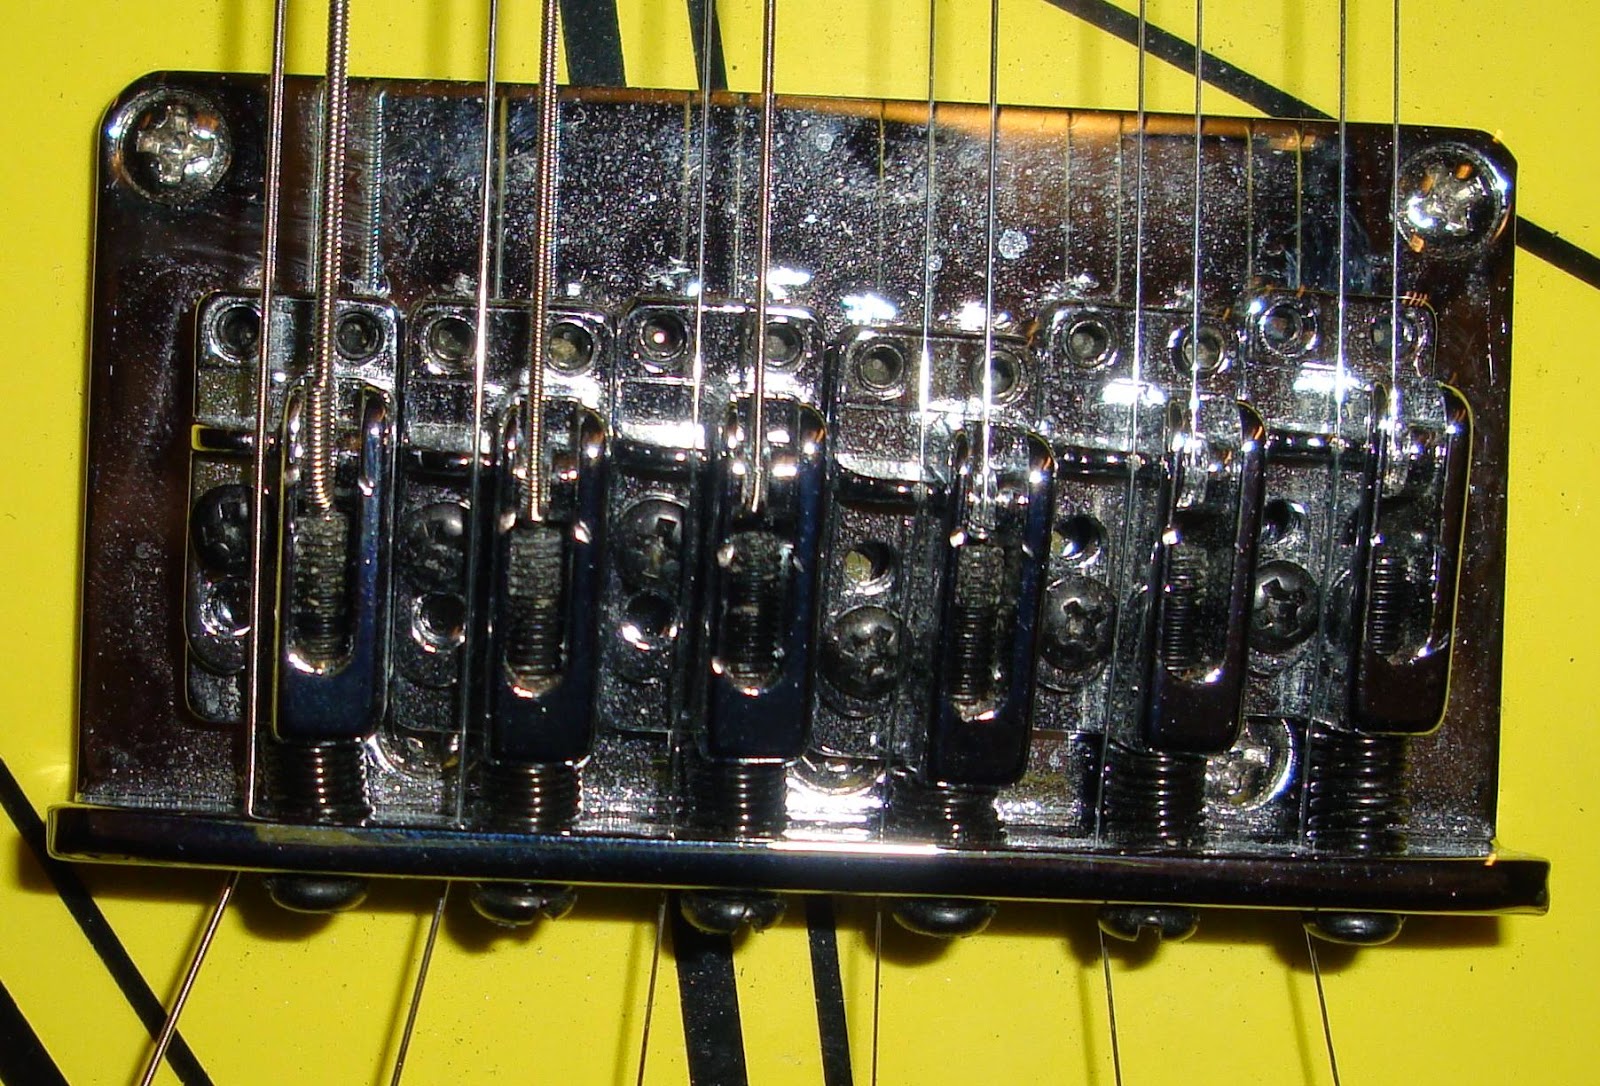
I didn't want this guitar too be too glassy looking, so I only put about 10 coats of gloss, then wet sanded only with 400 grit before buffing. I assembled this guitar with generic schaller style tuning machines, a generic liscenced Floyd Rose trem set, a VEH extra hot brown sound pickup from guitarfetish.com, and an old MXR knob and other extra parts I had sitting around


Note: I didn't want to spend a ton of money on this replica, and I wanted to use up this banana neck I had. But it didn't have a skunk stripe like the original. So this skunk stripe is faked - it's a dark wood stain only


I got the "space tape" 1984 with 2 stars decal set from axetremecreations.com